Learn how to perform tasks on inField Clipboard
2A. Click on the “square” to the right of the From Date / Time and select the Date.Rakesh2018-05-24T20:24:09-04:00

3. Select the Location of the job. This is a list that appears from the Client Database.Rakesh2018-05-24T20:33:03-04:00

5. You can add more instructions or additional information with the Description box. This information is made available to the field technician.Rakesh2018-05-24T20:34:26-04:00

13. You can assign additional Technicians – Selected within the Technicians Box and choose another Technician.Rakesh2018-05-24T20:43:21-04:00

14. NEW FORMS: i) Click on the box to select blank forms that should be associated to this job.Rakesh2018-05-24T20:44:46-04:00

2. PEOPLE – Clients – New ClientRakesh2018-05-24T22:12:27-04:00
Two Step Process:
1. Create the Associated Contact for the Business
2. Create the Business (Business Name + Location Address)

a) At the bottom – click on “Add New Location” – opens additional optionsRakesh2018-05-24T22:11:07-04:00
- Name = Exact same as Business Name OR Could have additional info to distinguish between Head Office and Site Location
- Enter Address, City, Prov, Country, PAC, Telephone
- Description = Any additional information you wish to have about this location. Not displayed anywhere.

When creating a new Event, this new Job Type should now appear in the available Job Types list.Rakesh2018-05-24T22:23:08-04:00

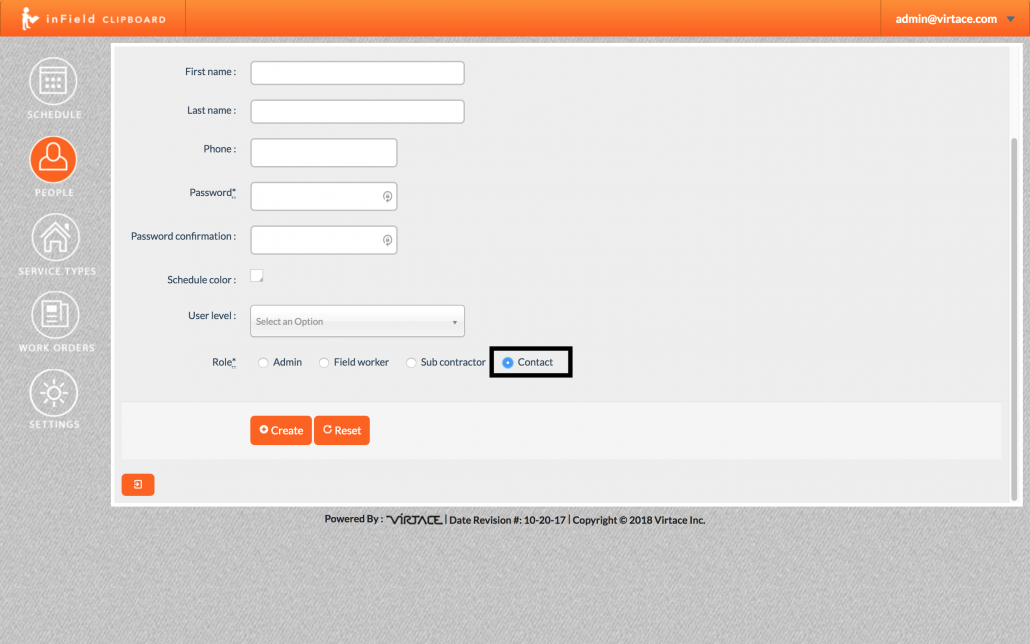
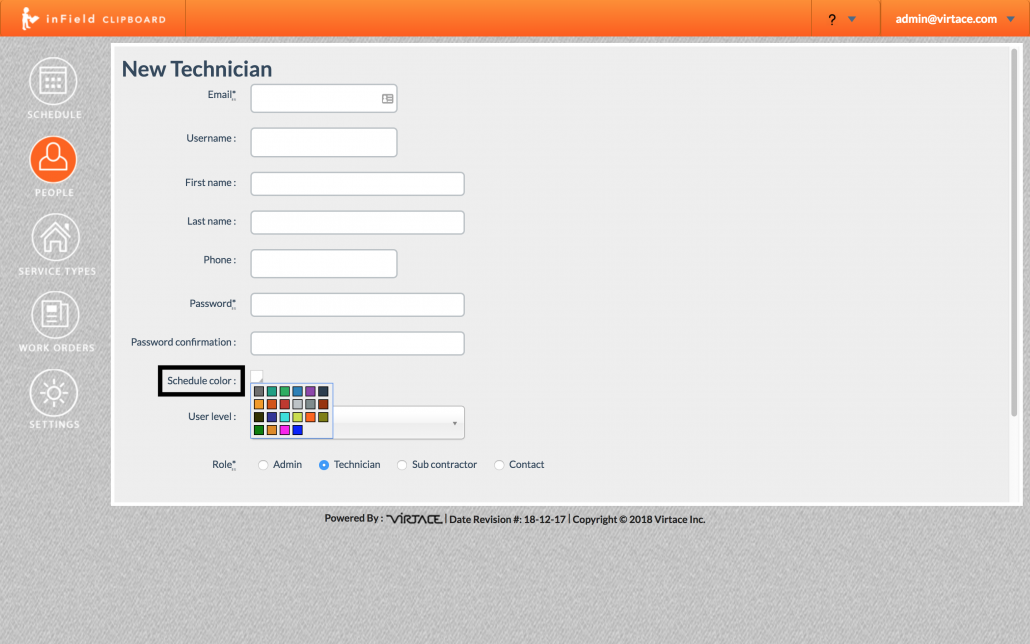
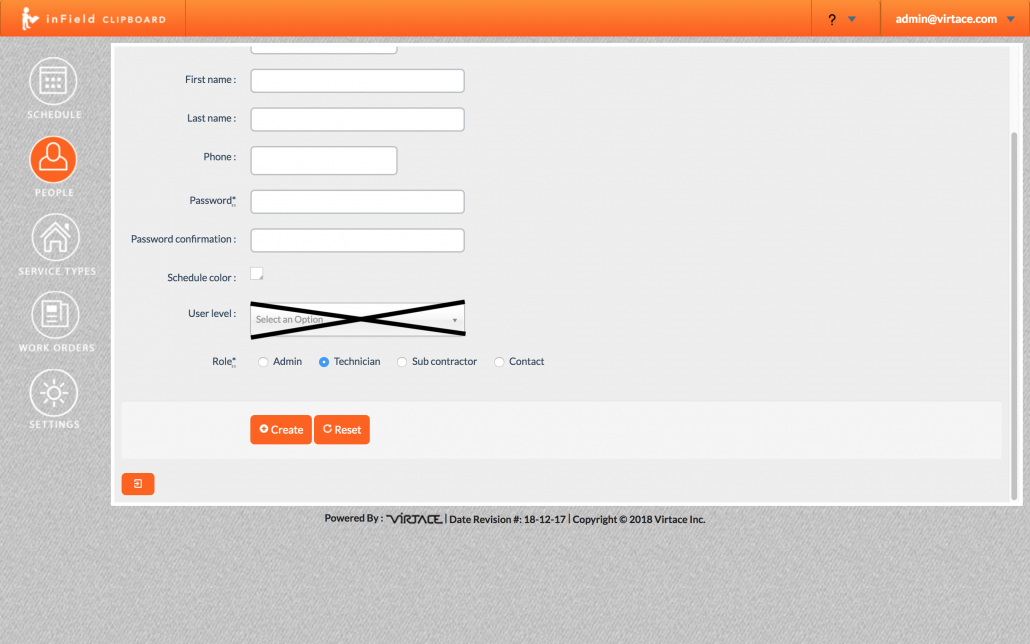
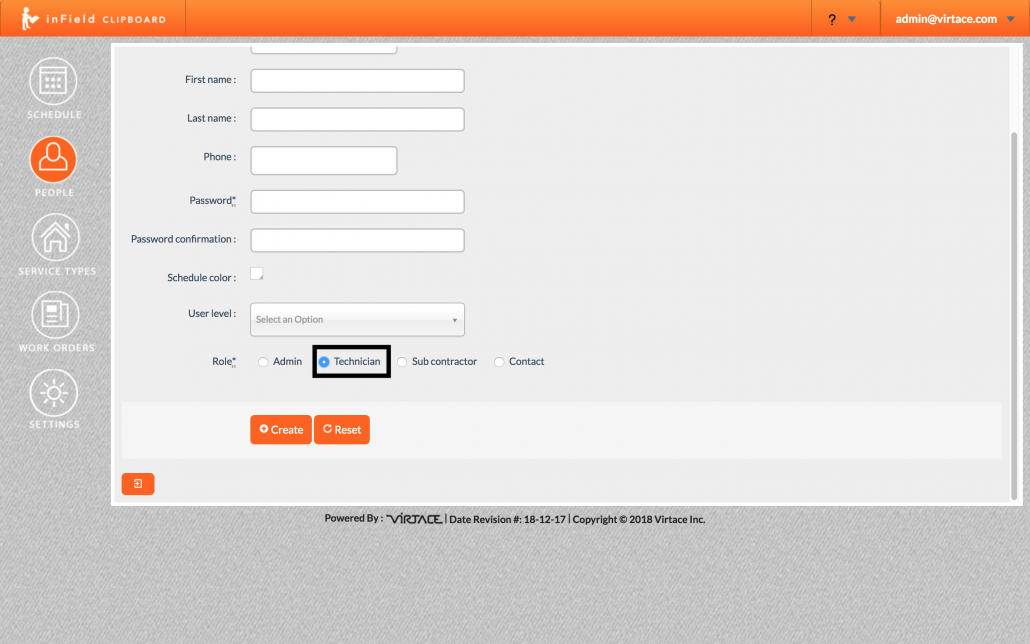
b) Enter Email / UserName / First Name / Last Name / Phone / Password / Re-Enter Password.Rakesh2018-05-25T10:52:38-04:00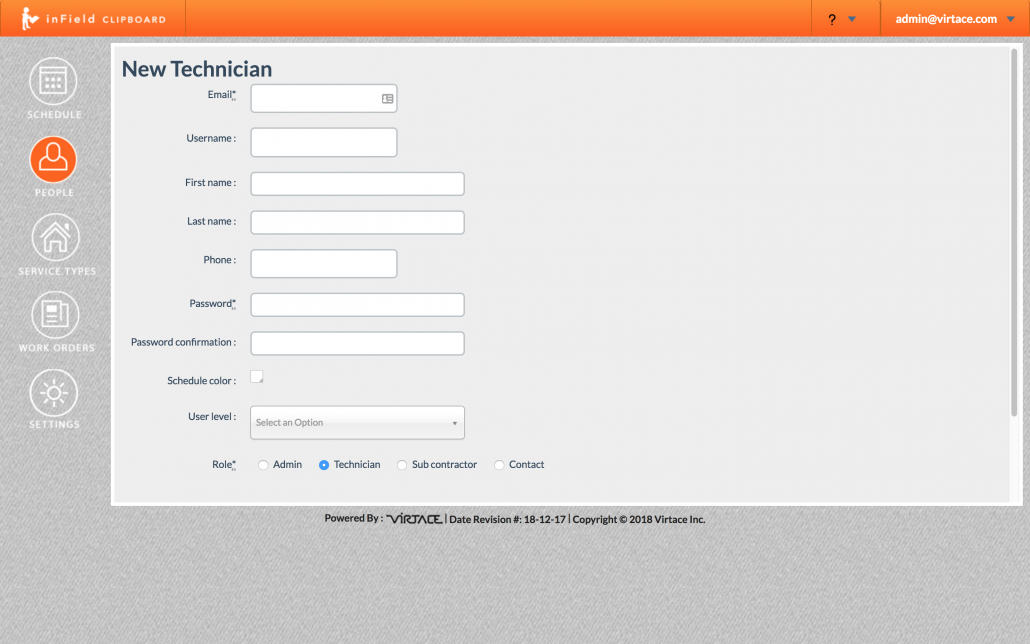

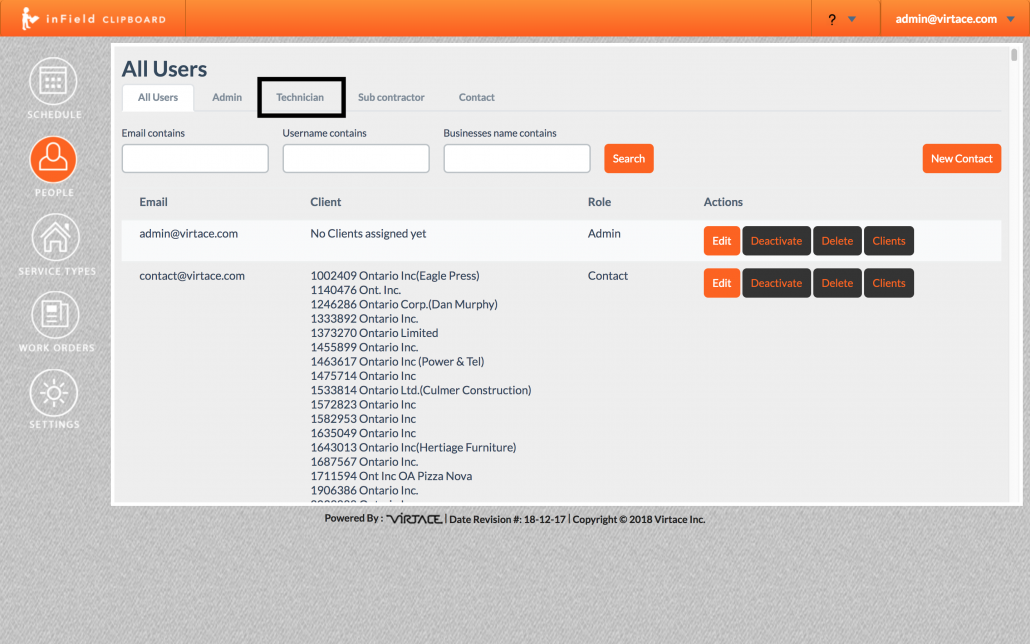
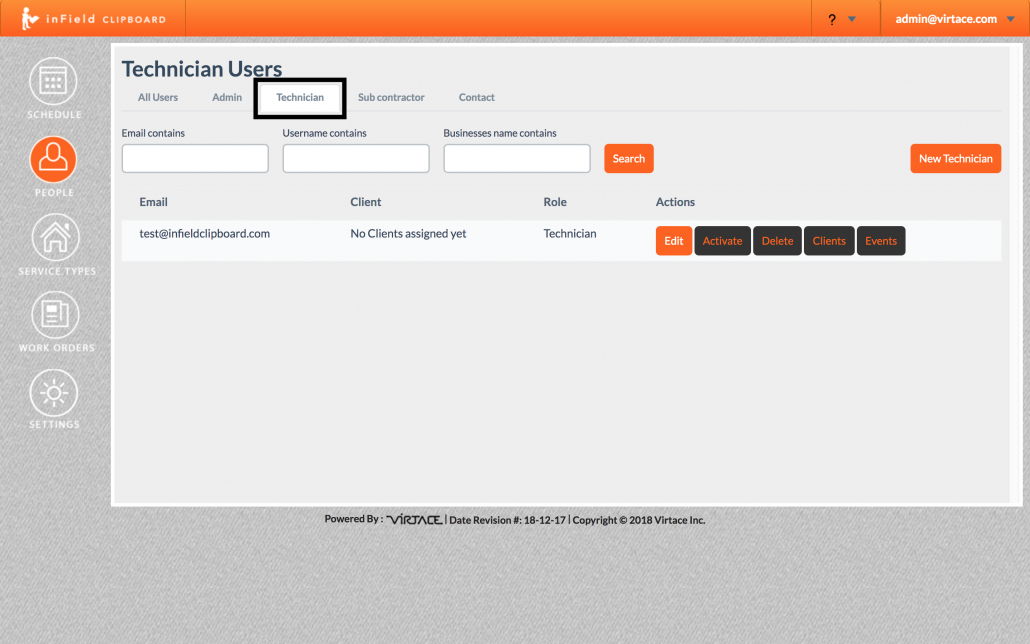
b) Search for the Technician Name – Enter the name in the Email field or Username field – Click SEARCHRakesh2018-05-25T11:05:10-04:00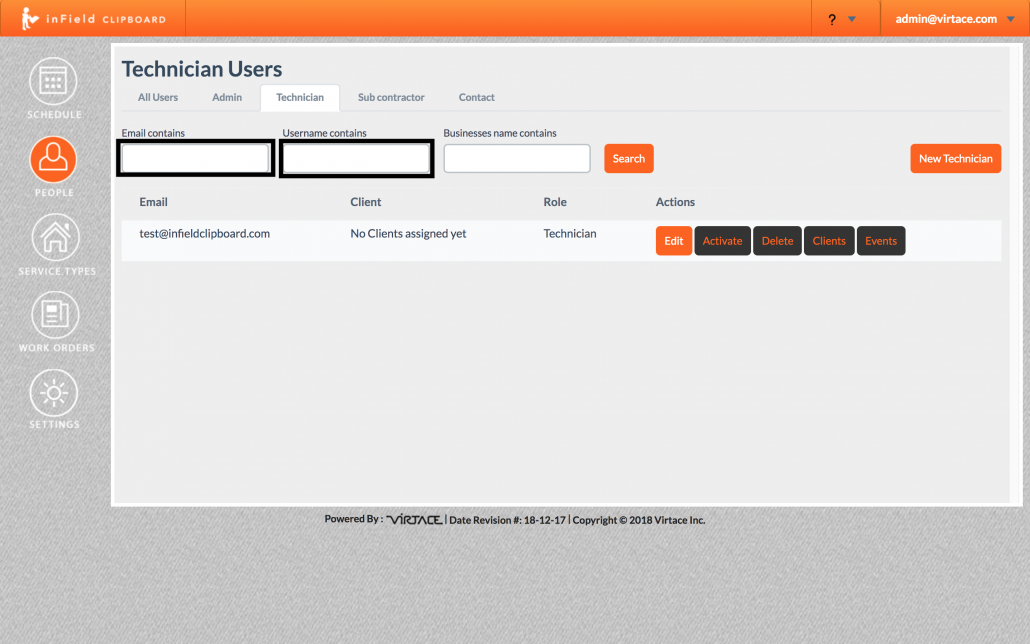

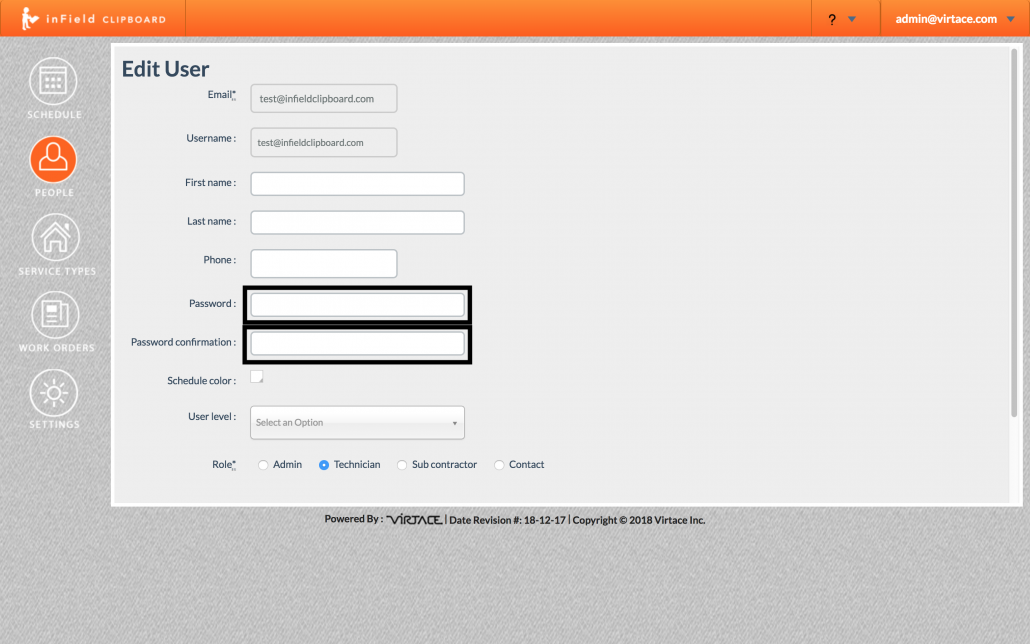
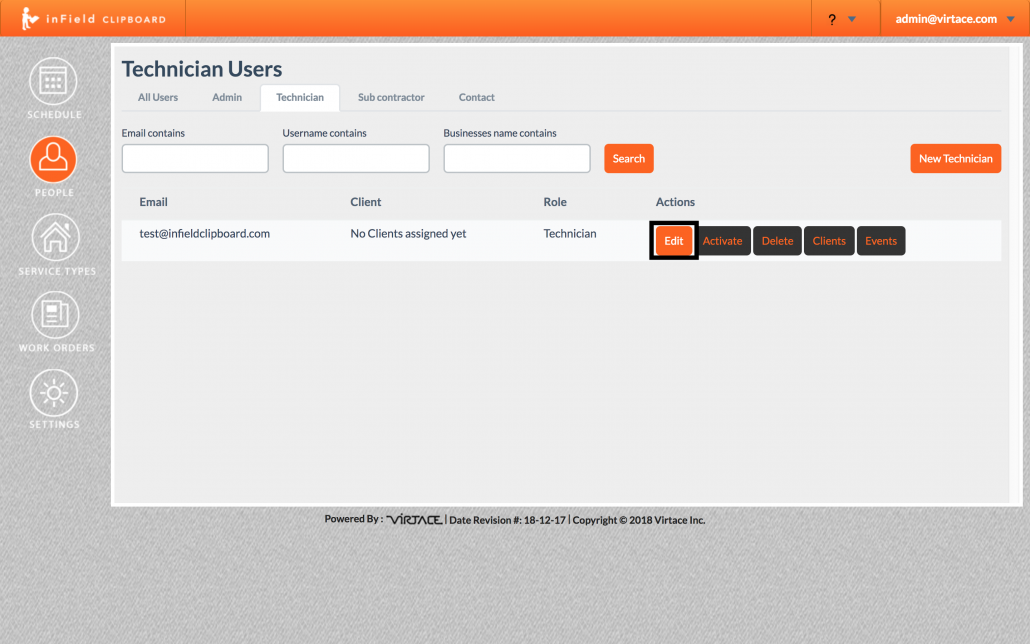
d) Enter new Password, and re-enter in the Password Confirmation fieldsRakesh2018-05-25T11:07:17-04:00